Plaster is a versatile material used for various construction and decorative purposes. In this article, we will discuss the types of plaster, the materials used in plastering, and the equipment required for the plastering process.
What is plaster?
Plaster is a building material that is commonly used for coating walls, ceilings, and other surfaces. It is a mixture of cement, sand, and water, along with other additives that enhance its workability and performance.
Plaster has been used for centuries as a versatile and durable material for finishing and decorating interior and exterior surfaces. It provides a smooth and even finish that can be painted or decorated according to the desired aesthetic.
Plaster is typically applied in multiple layers, starting with a base coat or scratch coat, followed by a second coat or brown coat, and finally a finish coat. Each layer is allowed to dry and harden before the next one is applied. The plaster is then smoothed, sanded, and prepared for painting or other decorative finishes.
In addition to its aesthetic benefits, plaster also provides insulation and soundproofing properties, as well as fire resistance. It can help improve the overall appearance and functionality of a space.
Materials and Equipment Used for Plaster
Plastering requires a variety of materials and equipment to ensure a successful and smooth application. Here are some common materials and equipment used for plastering:
Materials:
Here is a breakdown of the general raw materials used for plaster:
- Sand: Sand is a key component of plaster and provides bulk to the mixture. It helps to create a strong and durable plaster surface.
- Water: Water is necessary for the hydration process of the cementing material, typically cement. It is added to the mixture to achieve the desired consistency and workability of the plaster.
- Cementing Material: The cementing material, usually cement, acts as a binder in the plaster mixture. It helps to hold the sand particles together and provides strength and durability to the plaster.
Additional Admixtures: In some cases, additional admixtures may be added to the plaster mixture to enhance certain properties. These admixtures can include:
- Lime: Lime is sometimes added to plaster to improve workability, reduce cracking, and increase the durability of the plaster.
- Fibers: Fibers such as fiberglass or synthetic fibers can be added to improve the strength and crack resistance of the plaster.
- Retarders or Accelerators: These admixtures are used to control the setting time of the plaster, allowing for longer or faster working times, depending on the specific requirements of the project.
Equipment:
- Trowels: Trowels are essential tools for applying and smoothing the plaster. They come in various sizes and shapes, including a plastering trowel, corner trowel, and finishing trowel.
- Hawk: A hawk is a flat, square board with a handle underneath. It is used to hold and carry the plaster while working.
- Plastering Float: A plastering float is a rectangular or square tool with a flat base. It is used to spread and level the plaster on the wall or ceiling.
- Mixing Tools: Mixing tools, such as a mixing paddle or a mechanical mixer, are used to mix the plaster thoroughly and ensure a consistent texture.
- Bucket or Mixing Tub: A bucket or mixing tub is used to hold and mix the plaster.
- Ladder or Scaffolding: Depending on the height of the area being plastered, a ladder or scaffolding may be needed to reach higher surfaces safely.
- Protective Gear: Plastering can be a messy job, so it is important to wear protective gear such as gloves, safety glasses, and a dust mask to protect yourself from the plaster dust and chemicals.
Types of Plaster
There are several types of plaster available, each with its own unique properties and uses. Here are some common types of plaster:
Cement Plaster

Cement plaster, also known as stucco, is made from a mixture of cement, sand, and water. It is a versatile plaster that can be used for both interior and exterior surfaces. Cement plaster is durable, weather-resistant, and provides a strong bond to various substrates. It is commonly used for exterior walls, facades, and decorative finishes.
Clay Plaster

Clay plaster is a natural and environmentally friendly plaster made from clay, sand, and fiber. It has excellent thermal and acoustic properties and regulates humidity effectively. Clay plaster is often used for interior walls and ceilings to create a warm and cozy atmosphere. It can be finished with various techniques, such as troweling, texturing, or painting.
Gypsum Plaster

Gypsum plaster, also known as plaster of Paris, is made from gypsum powder mixed with water. It is a popular choice for interior walls and ceilings due to its smooth finish and ease of application. Gypsum plaster sets quickly and can be sanded and painted once dry. It is not suitable for wet areas as it is not water-resistant.
Lime Plaster

Lime plaster is made from a mixture of lime, sand, and water. It is known for its breathability, flexibility, and durability. Lime plaster is often used in historic restoration projects and for creating a traditional, natural finish. It can be applied to various substrates, including masonry, wood, and metal.
Also Read:
- Plastering: Purpose and Types of Plaster Finishes
- Causes of Cracks in Concrete
- Concrete Stairs Reinforcement Details
- Demolition Techniques
- Different types of asphalt pavements in construction
- Types of Retaining Wall
- Formworks
Procedure for Preparing and Applying Various Types of Plaster
The procedure for preparing and applying various types of plaster can vary depending on the specific type of plaster and the desired finish. Here is a general overview of the steps involved in preparing and applying different types of plaster:
1. Surface Preparation
Before applying plaster, it is important to prepare the surface to ensure proper adhesion. This may involve cleaning the surface, removing any loose or flaking paint or plaster, and repairing any cracks or damage.
2. Mixing the Plaster
Follow the manufacturer’s instructions for mixing the specific type of plaster you are using. Typically, plaster is mixed with water in a clean bucket or mixing container. Use a mixing paddle or drill with a mixing attachment to blend the plaster and water until it reaches a smooth and creamy consistency.
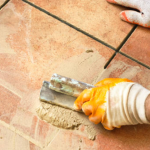
3. Applying the Plaster
Depending on the type of plaster and the desired finish, there are different techniques for applying plaster. Here are a few common methods:
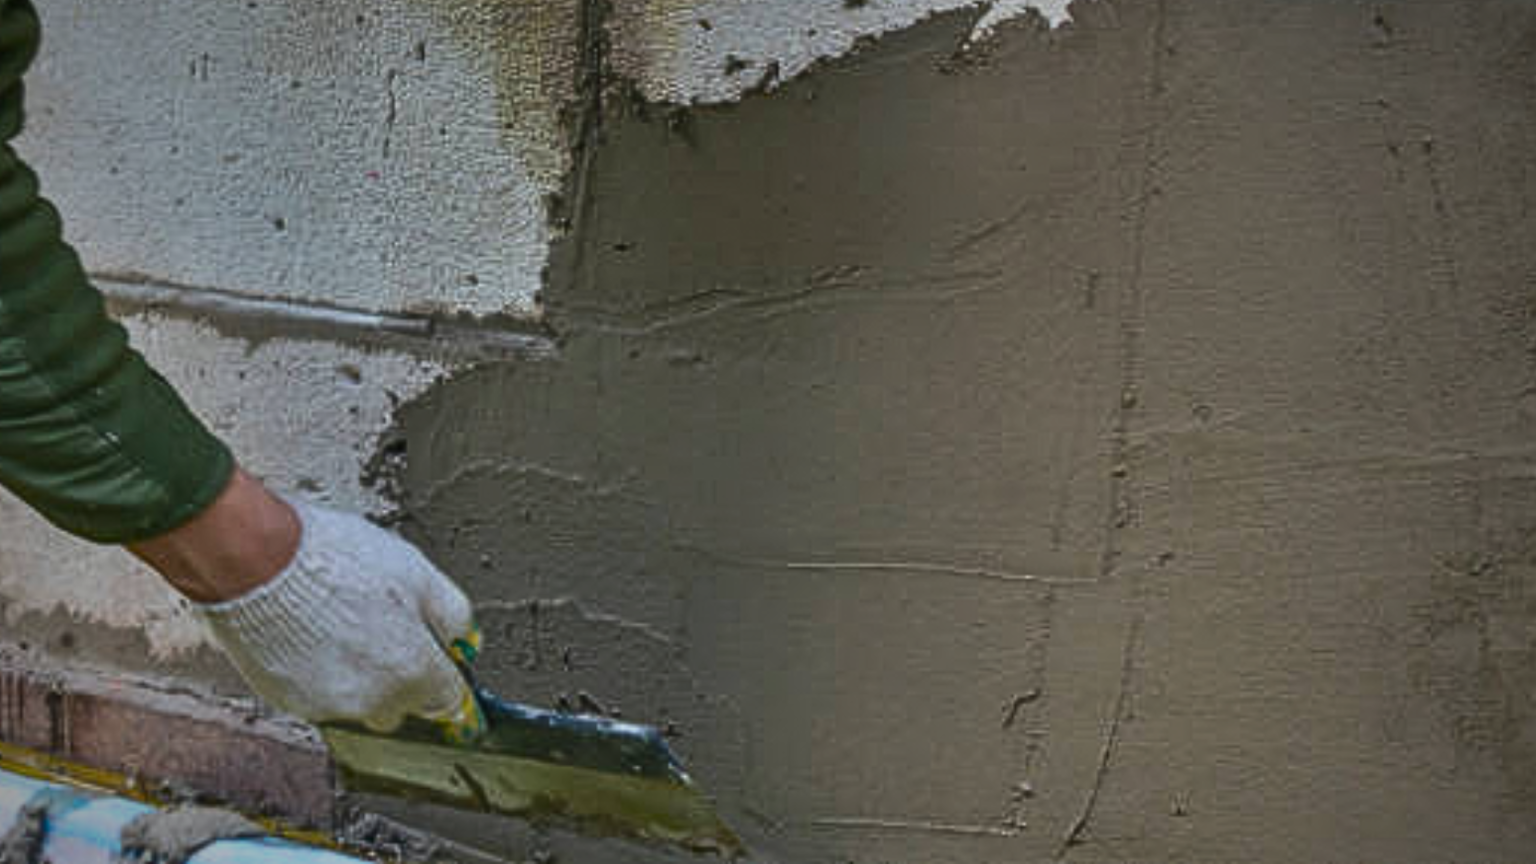
- For traditional plaster: Apply a base coat of plaster using a trowel, starting from the bottom and working your way up. Smooth the plaster with a trowel or plastering float, removing any excess material. Allow the base coat to dry before applying a finish coat. The finish coat can be applied using the same technique or with a different texture or pattern.
- For Venetian plaster: Apply thin layers of plaster using a trowel, allowing each layer to dry before applying the next. Once the layers are dry, use a burnishing tool or a trowel to polish the surface, creating a smooth and shiny finish.
- For textured plaster: Apply the plaster using a trowel, textured roller, or brush, depending on the desired texture. Experiment with different techniques to achieve the desired effect, such as stippling, sponge painting, or using a comb or trowel to create patterns.
4. Drying and Finishing
Allow the plaster to dry according to the manufacturer’s instructions. This can take several hours or even days, depending on the type of plaster and the thickness of the application. Once the plaster is dry, you can further refine the finish by sanding, polishing, or adding additional coats if needed.
5. Sealing and Protecting
Depending on the type of plaster and the location of the application, you may need to seal the plaster to protect it from moisture or damage. Consult with a professional or follow manufacturer guidelines for the appropriate sealer or protective coating to use.