What is masonry?
The term “masonry” refers to the practice of constructing a structure out of stones or bricks. Individual blocks of materials such as stones, bricks, concrete, hollow blocks, cellular concrete, and laterite are set out in horizontal courses and bound together using mortar in a masonry works construction. When it comes to the structural integrity of a wall, the bonding strength of the mortar is often overlooked.
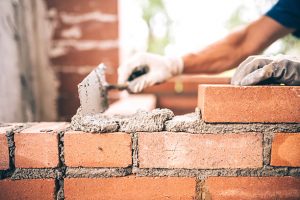
Brick masonry is a long-lasting building method. To create a strong mass that can withstand applied forces, bricks and mortar are laid out in an organized method. Adding mortar to gaps between bricks creates the connection that keeps them together in brick masonry.
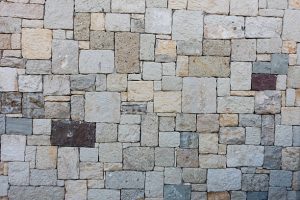
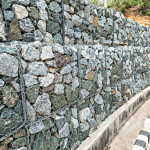
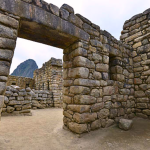
Stone masonry is a kind of masonry construction involving the use of stones and mortar. This structural technique is used to construct foundations, floors, retaining walls, arches, and walls. Natural rocks are utilized to build masonry structures. Cut and prepared natural boulders are used in masonry building because of their durability and aesthetic appeal. Stones are one of the most long-lasting and dependable construction materials.
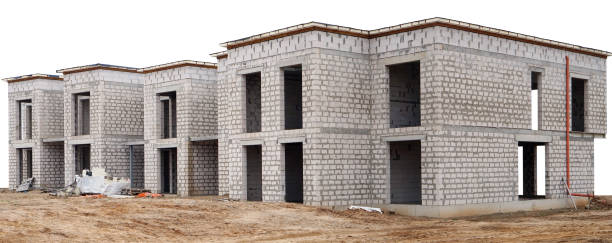
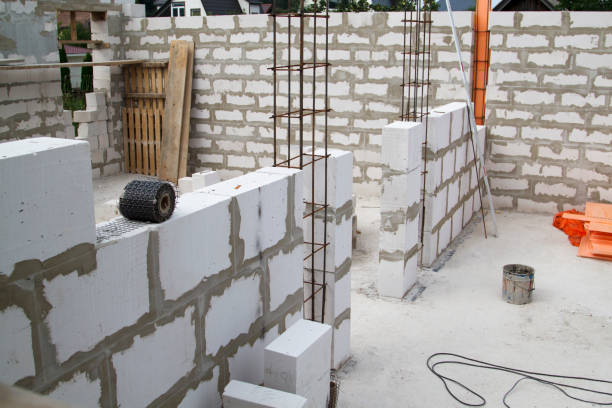
Concrete block masonry, commonly known as concrete masonry units (CMU), has advantages over brick and stone masonry. Depending on the shape and size required, concrete blocks can be made either solid or hollow. In construction, it is a rectangular block of conventional dimension. A broad variety of appearances can be achieved with CMUs, making them one of the most adaptable construction materials available.
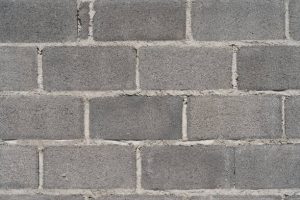
Hollow concrete block– They are rectangular hollow blocks of uniform size and density, constructed of cast concrete. In masonry buildings, hollow concrete blocks are more popular. It speeds up the building process, saves cement and steel, and lowers construction costs. These blocks reduce the natural weight of masonry structures while also improving physical qualities like noise and thermal insulation. Electrical conduits, water, and soil pipelines are also concealed.
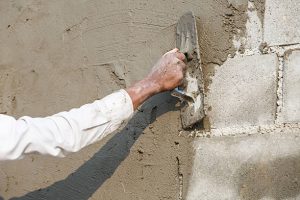
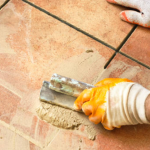
Plastering – These masonry works are applications of a substance to a surface in order to smooth it out or restore it after it has become uneven.
Plastering is the process of using a plastic substance called plaster to cover rough walls and uneven surfaces in the construction of houses and other structures. Plaster is made out of a mixture of lime or cement concrete, sand, and the needed amount of water.
Tools Used in Plastering Works



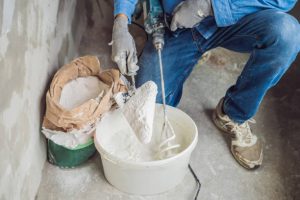
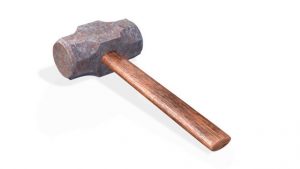
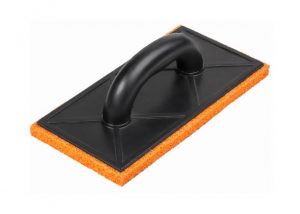
Plastering tools are made with the plasterer in mind and are meant to be simple and light to use. It is suitable for both professionals and home-improvers.
1. TUBE LEVEL
To achieve an even and clean finish, a tube level is used to level the upper section of the plastered surface. A tube level is a bubble-free clear plastic tube or tiny pipe filled with water. It is based on the idea that water seeks its own level. If both ends of the tube are positioned against the same vertical surface, the water level will always be in the same vertical plane.
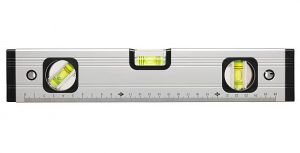
2.SPIRIT LEVEL
The spirit level is an essential piece of equipment for plastering work since it helps in achieving an equal and flat surface. It is made up of a water tube that may be used to determine the surface level. It also helps you to improve the quality of your work and achieve balance on all sides.
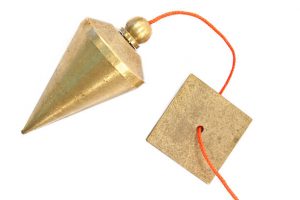
3. PLUMB BOB
Plumb bob is a level checking tool that is used to check the vertical levels of the wall. The appearance of this plastering tool is usually a solid cone shape bob with a pointed one end and a thread tied on the other end.
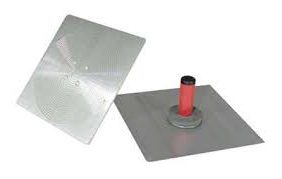
4. HAWK
Many professional plasterers or masons use hawks as one of their essential plastering tools. The hawk helps the mason with carrying and holding the plaster as they progress down the wall. It enables you to apply the plaster quickly and easily across both ceiling walls.
5. STRAIGHT EDGE
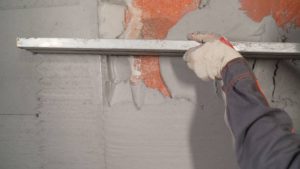
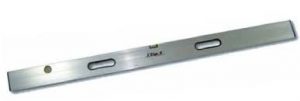
A straight edge is a plastering tool that is used to smooth off rendered flooring across a large area in a short amount of time. It is typically used for leveling concrete or plastered surfaces, as well as measuring distances. This plastering tool is often constructed of aluminum and is used to provide a smooth finish during the final plastering process.
6. WATER BRUSH
In Western countries, a water brush is frequently used as a sponge alternative.
7. GAUGING TROWEL
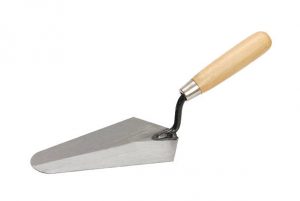
A gauging trowel is used to measure and apply small amounts of cement mortar to corners, molding, and other areas. This plastering tool can have a pointed or bull-nosed end on one end.
8. THREAD
A roll of thread is used to verify the amount of plaster on various buildings in order to achieve evenness on both structures. It is done by placing the thread on the edge of both constructions.
9.SPACKLE KNIFE
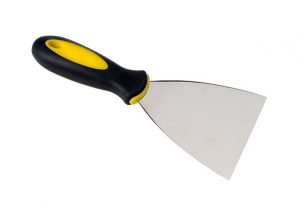
A spackle knife is small in size but may be very useful in plastering work. Before using this instrument or any other repair, be sure to run a durable knife over gaps and even surfaces to ensure that the tool works smoothly. It will remove old plaster chips and high points, leaving a clean and flat surface on which to evenly apply plaster with a spackle knife.
10.FLOATING RULE
The floating rule tool is used to check the level of the plastered surface between screens.
11. PADDLE MIXER
A paddle mixer is used to mix a huge amount of plastering components. Paddle mixers assist in breaking up clumps and allow plasterers and admixtures to easily modify the consistency of their mixture.
12.BUCKET OR PUTTI OR GHAMELA
Masons use this plastering tool to transport and hold the plaster mixture when plastering.
13. HAMMER
One of the most helpful instruments for plastering work is the hammer. There are two kinds of hammers: claw hammers and drywall hammers. Both hammers can help chip out chunks of plaster and are useful for cutting the surface.
14. SPONGE
On the plastered surface, a sponge is used to make a smooth surface. A square wet sponge is used to smooth out the unevenness on the plastered surface.
15. FLOAT
This tool is used to apply and distribute cement mortar over the surface. On a level surface, it’s a flat wooden or metal board with a handle. Floats are classified into two kinds based on the material used to make them.
- METAL FLOAT
- WOODEN FLOAT
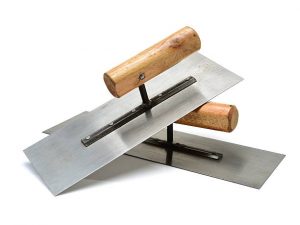
Metal float– This type of float is made of thin tempered steel and is also known as a laying trowel. It is used to lay and trowel the plaster material to achieve the desired finish.
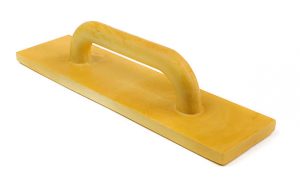
Wooden float- This type of float is also known as a skimming float. It is used for applying the last coat of plaster.
Plastering Work Procedure
1. Surface Preparation for Plastering
2. Plastering Groundwork
3. Applying a Base Coat or Undercoat
4. Finishing Coat Application
5. Curing of Plastering Works
Types of CHB Laying
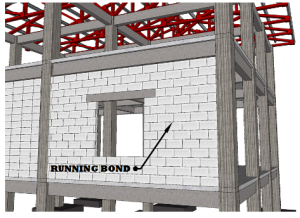
Running Bond- This process of masonry works the most common pattern of CHB laying, in which the hollow blocks are arranged in a running pattern, never aligning with each other when stacked. It gives the wall a lot of structural strength.
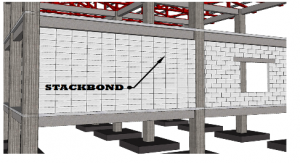
Stack Bond-where the CHB is placed precisely on top of each other and the joints line up. This is not a structural bond and is often utilized on non-load bearing interior walls.
STACK BOND VS RUNNING BOND : PROS AND CONS
STACK BOND
A stack bond is formed by stacking bricks on top of one other and holding them together with mortar. The wall may appear to be strong, yet it lacks strength. If a stand bond wall has to be supported, it must be attached to a metal plate at the rear or supported in another way. That is the main disadvantage of it. When used just for adornment, it may appear stunning and serve as a focus point for the eye. The running bond, on the other hand, triumphs in the building industry.
RUNNING BOND
The running bond is the most prominent form of brick pattern, and it may be seen on walls and buildings all around the world. Even though it isn’t fancy, it is basic and plain. It provides lots of structural support to the wall. Because the courses alternate, with centers changing from course to course, the pressure decreases to provide stability. The running bond is popular because it is simple to execute and achieves precisely what it is meant to do, even if it does not appear extremely dramatic.

